![Bandai 1/144 HG MS-04 Bugu [Ramba Ral]](https://itisagunpla.com/wp-content/uploads/2021/03/p3280272.jpg?w=220)
The MSN-06S Sinanju is a mobile suit featured in the Mobile Suit Gundam Unicorn. It is a modified version of Anaheim Electronics’ MSN-06S Sinanju Stein; which is actually transferred to the remnants of Neo Zeon “The Sleeves” in UC 0094.
Sinanju is the personal mobile suit and piloted by Full Frontal during the Third Neo Zeon War in UC 0096. Below is a side-by-side comparison between the Stein and Sinanju.


Originally the MSN-06S Sinanju Stein developed by Anaheim Electronics as part of the Earth Federation’s “UC Project” and the data us also used to develop the RX-0 Unicorn Gundam. Both the Sinanju and Stein have a movable frame is partly made from Psycho-Frame materials.

TIP Jar: Please buy me a cup of coffee!
As you know building Gunpla and maintinaing a website is not cheap, so if you are inspired by my work and ideas please feel free to support me by buying me a cup of coffee. Much appreciated in advance!
$1.00
Below is a side-by-side comparison to my Gundam RX-0 Unicorn in Normal and Destroy mode. it is interesting to see that the Unicorn Gundam in Destroy mode is still slightly shorter when compared to the impressive Sinanju.


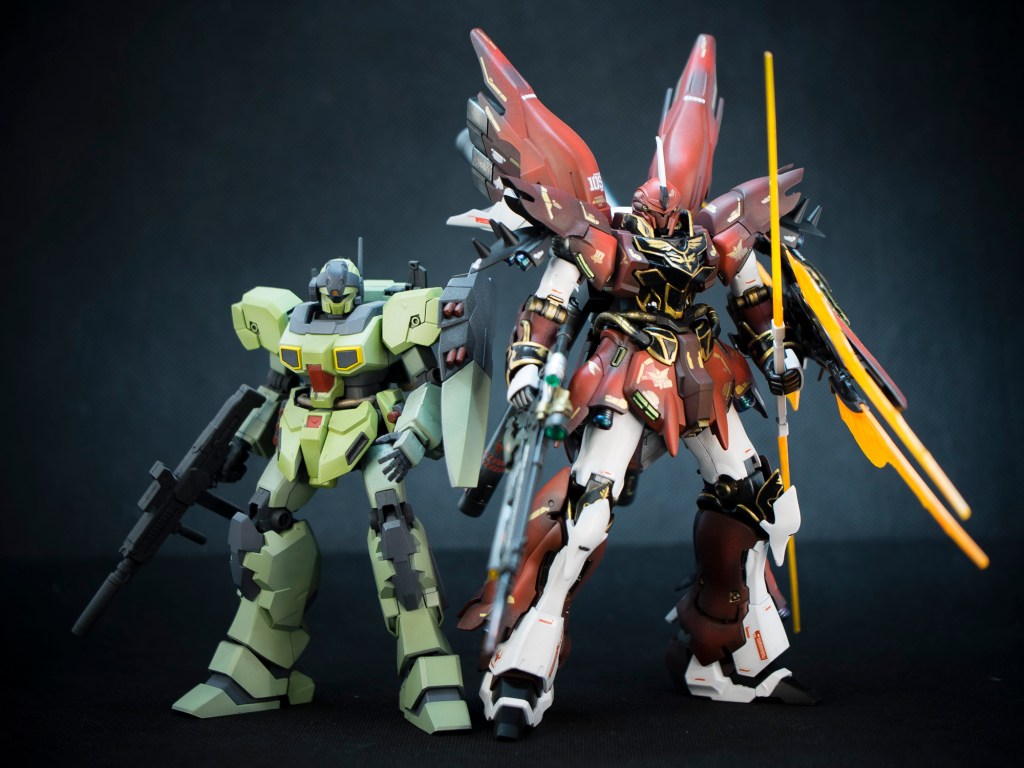
The Sinanju Stein has Gundam-like but modelled such that it has reminiscent of the MSN-04 Sazabi. Below is a side-by-side comparison to Jesta; which although is from the Unicorn era, it still looks slightly small when standing next to the Sinanju.
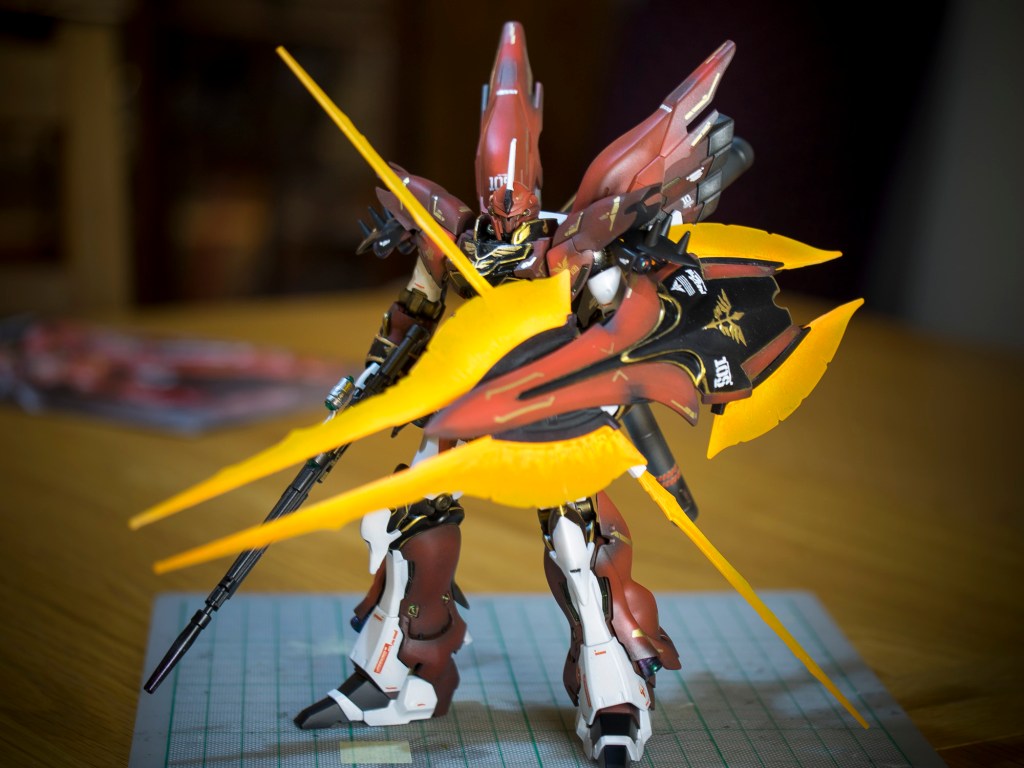
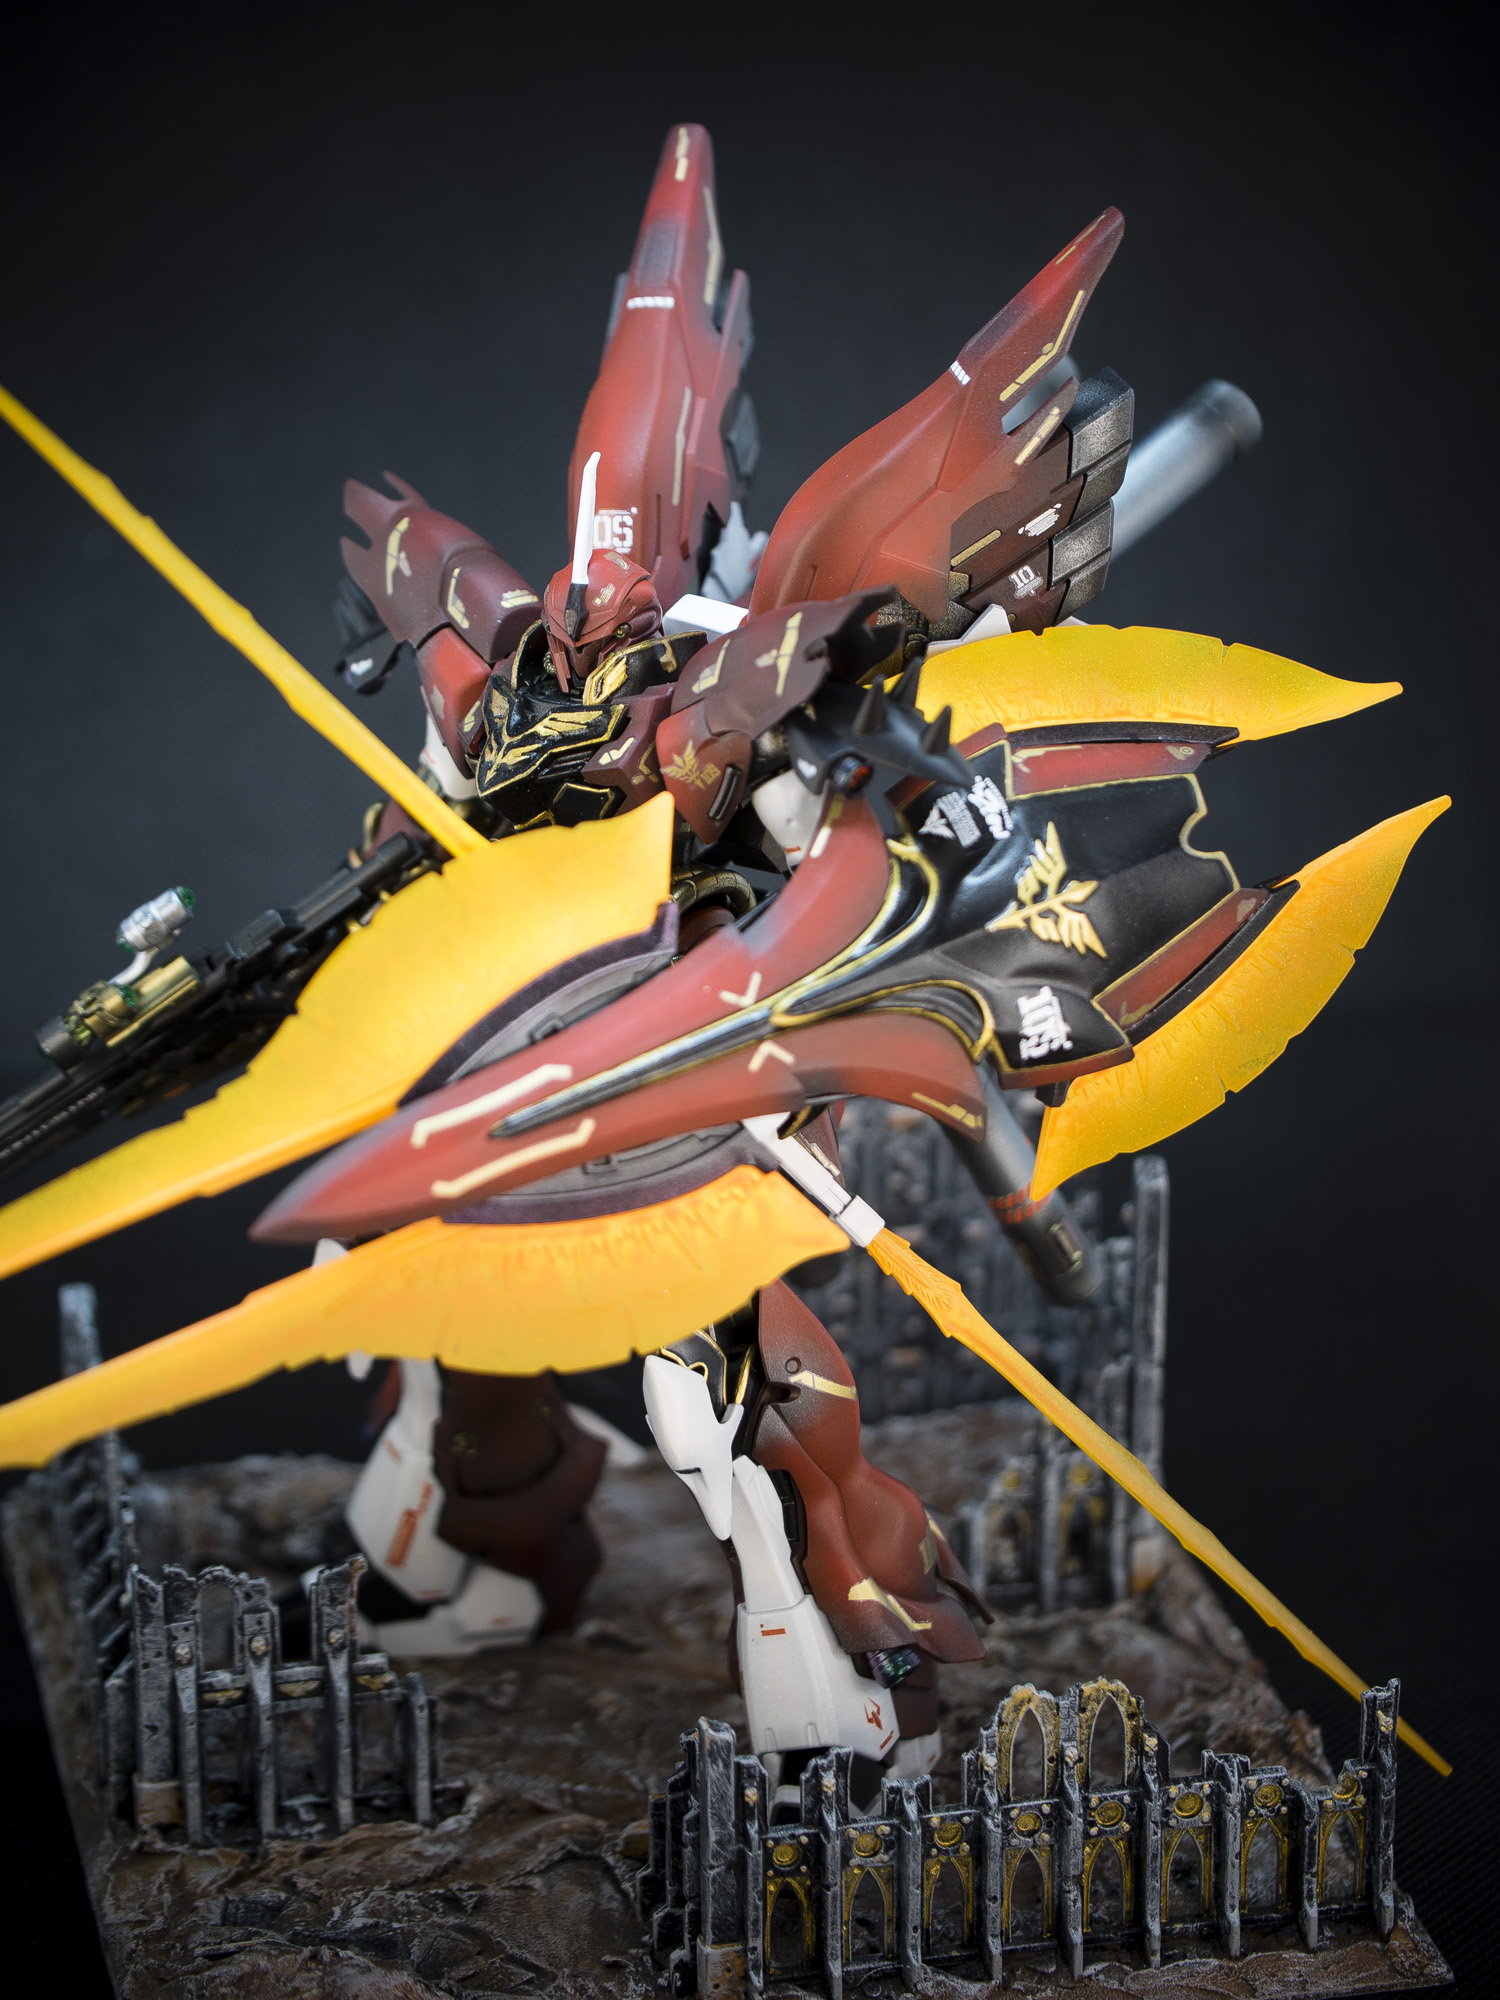
The Sinanju’s boosters were also replaced with large flexible thrusters mounted in a wing-like arrangement on its back. Sporting multiple vernier thrusters throughout its frame, the unit is capable of achieving precise movements and high speeds, which is also like a modernised version of the ‘Red Comet’ “clone”.


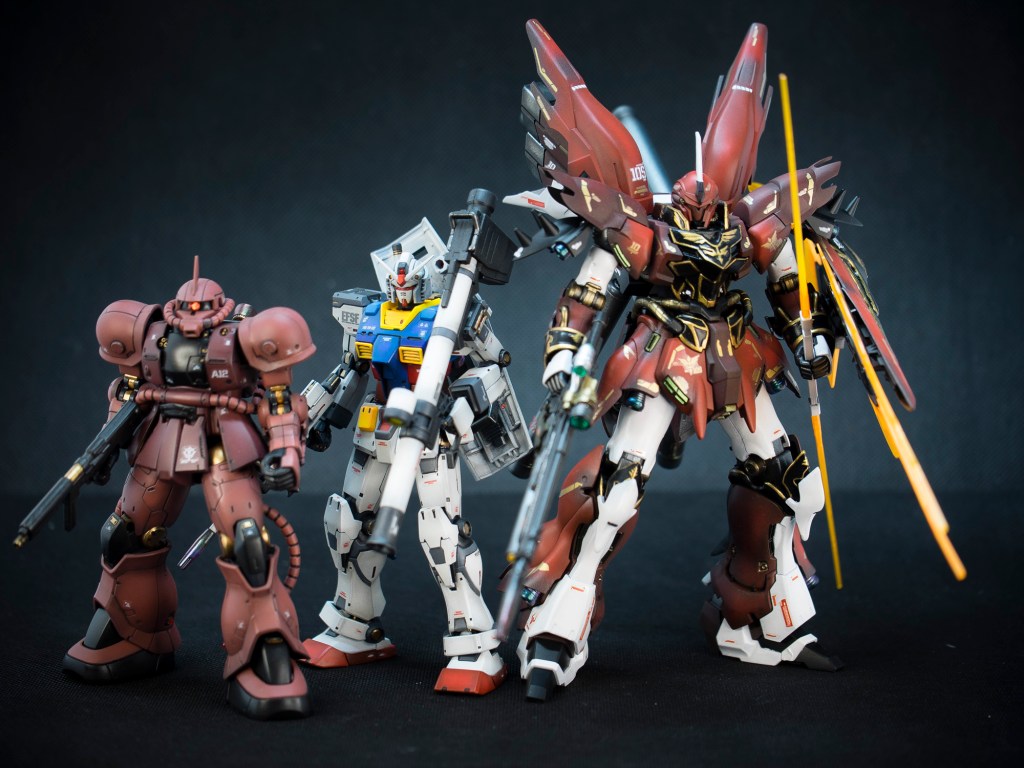
It is also observed that the Unicorn era mobile suits tends to be larger and taller when compared to the 0079UC counterpart. Below is a side-by-side comparison to my Origin Zaku 2 and RX-78-2.
The High Grade MSN-06S Sinanju is a Bandai 1/144 scale kit released in late Dec 2010. It is not considered a new kit when I bought it in 2021 from Ching To.

He has a web page listing kits he has available for sale, and if you join his Facebook group “Ching & Friends Gunpla” you will be able find out what kits he has on pre-order and you could also give him your wish lists. Check him out!
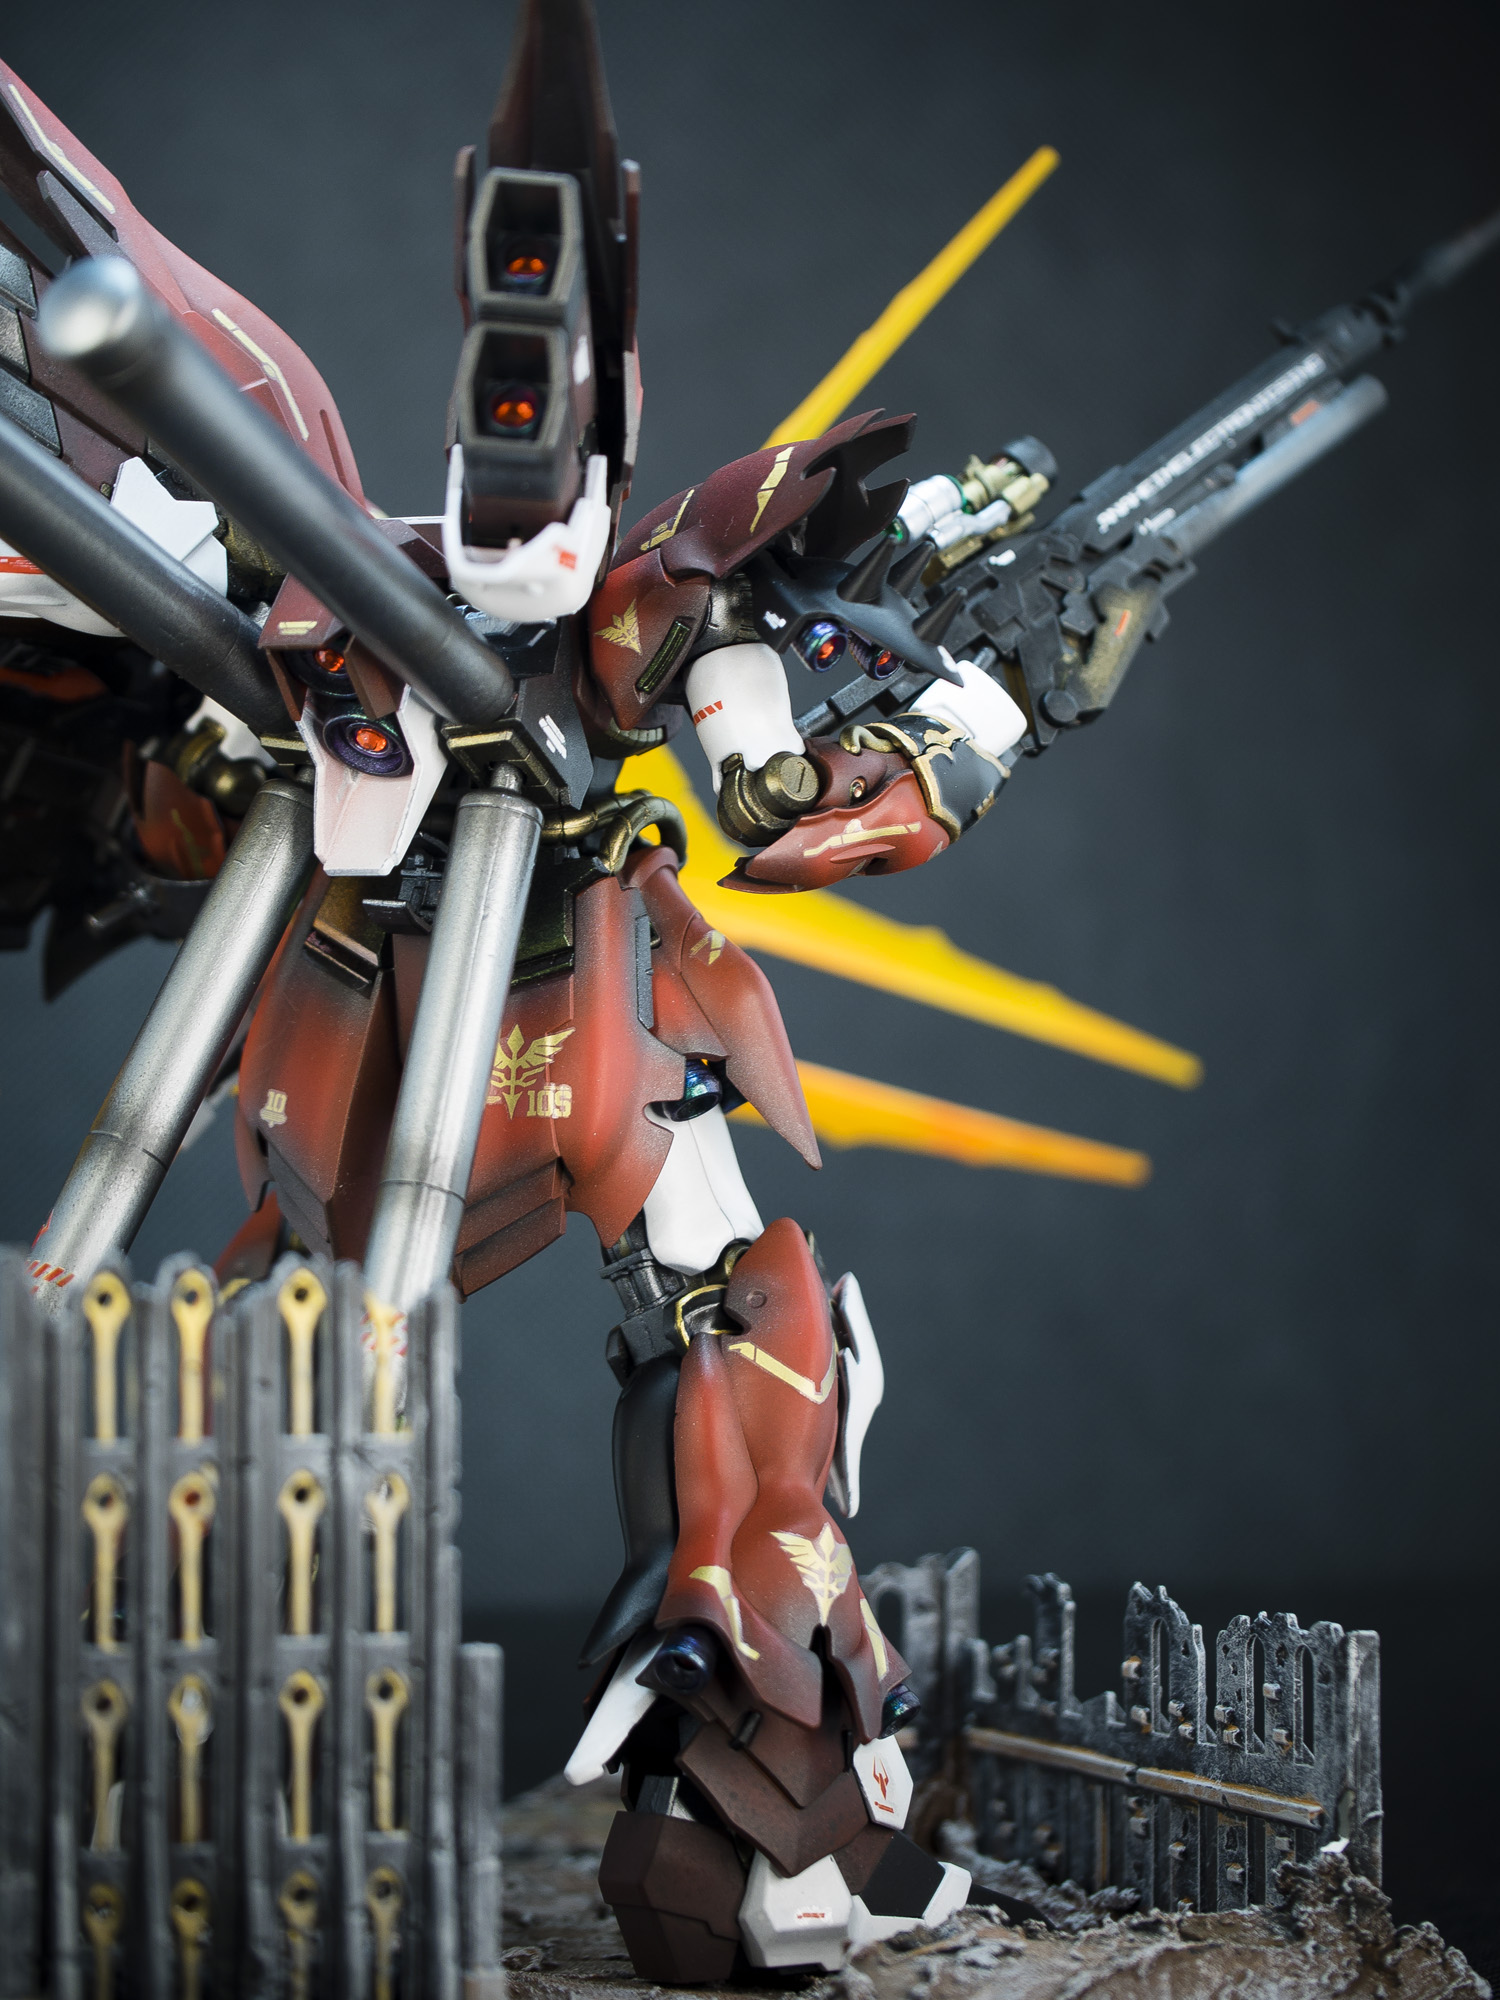
That said, the Sinanju is not new when compared to the latest release such as the Origin Storyline kits. But don’t scoff at this kit, it has small details such as pipes that goes around the sleeves along the wrist, separate vernier thrusters around the legs side skirts etc.
The parts separation is fantastic with well-placed seam lines and it makes painting “relatively” easy (more on that later). This High Grade kit still uses polycaps, but it has a lot more articulation to allow more dynamic posing when compared to the older HG versions.
My red and white colour scheme was inspired by Full Frontal’s attire which is propbably been modelled by the Victorian English Officer wearing a Red coat.


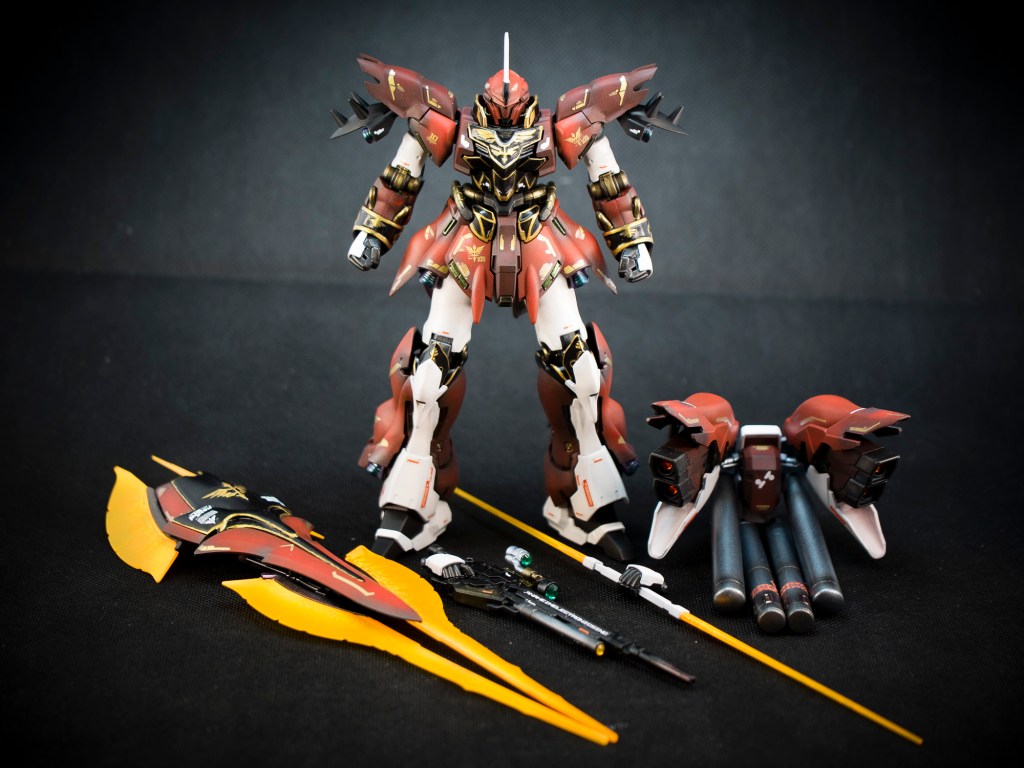
The kit comes with lots of accessories such as several different hands shape, Beam Saber x2, Beam Rifle + “grenade” launcher, Shield, Beam Axe (Expanded Mode) x2, Beam Axe (Storage Mode) x2 which they can be joined up to form a beam Naginata.


The retail price for this kit is about ¥2,860 which is a slightly more expensive than the Origin RX-78-2 at ¥2,300; but to my humble opinion this is one of the best High Grade kit I have built; and I dare say you will need to have some experience in painting just to be able to bring some justice to this kit.

To be honest, that was one of the main reason I had put off this kit for quite a long time. I have the Sinanju Stein, and hence I have a bit more knowledge of what I am up against, but I was wrong when I started this project in August 2021!


The gold accent on the sleeves are so hard to get it right, Bandai recommended reverse washing, which meant you paint the whole engraved piece in Gold using Acrylic paint and once it is dry you paint over the gold engraved piece using black Enamel paint.
Once dry you should be able to wide away the black using an enamel thinner to expose the gold accent.


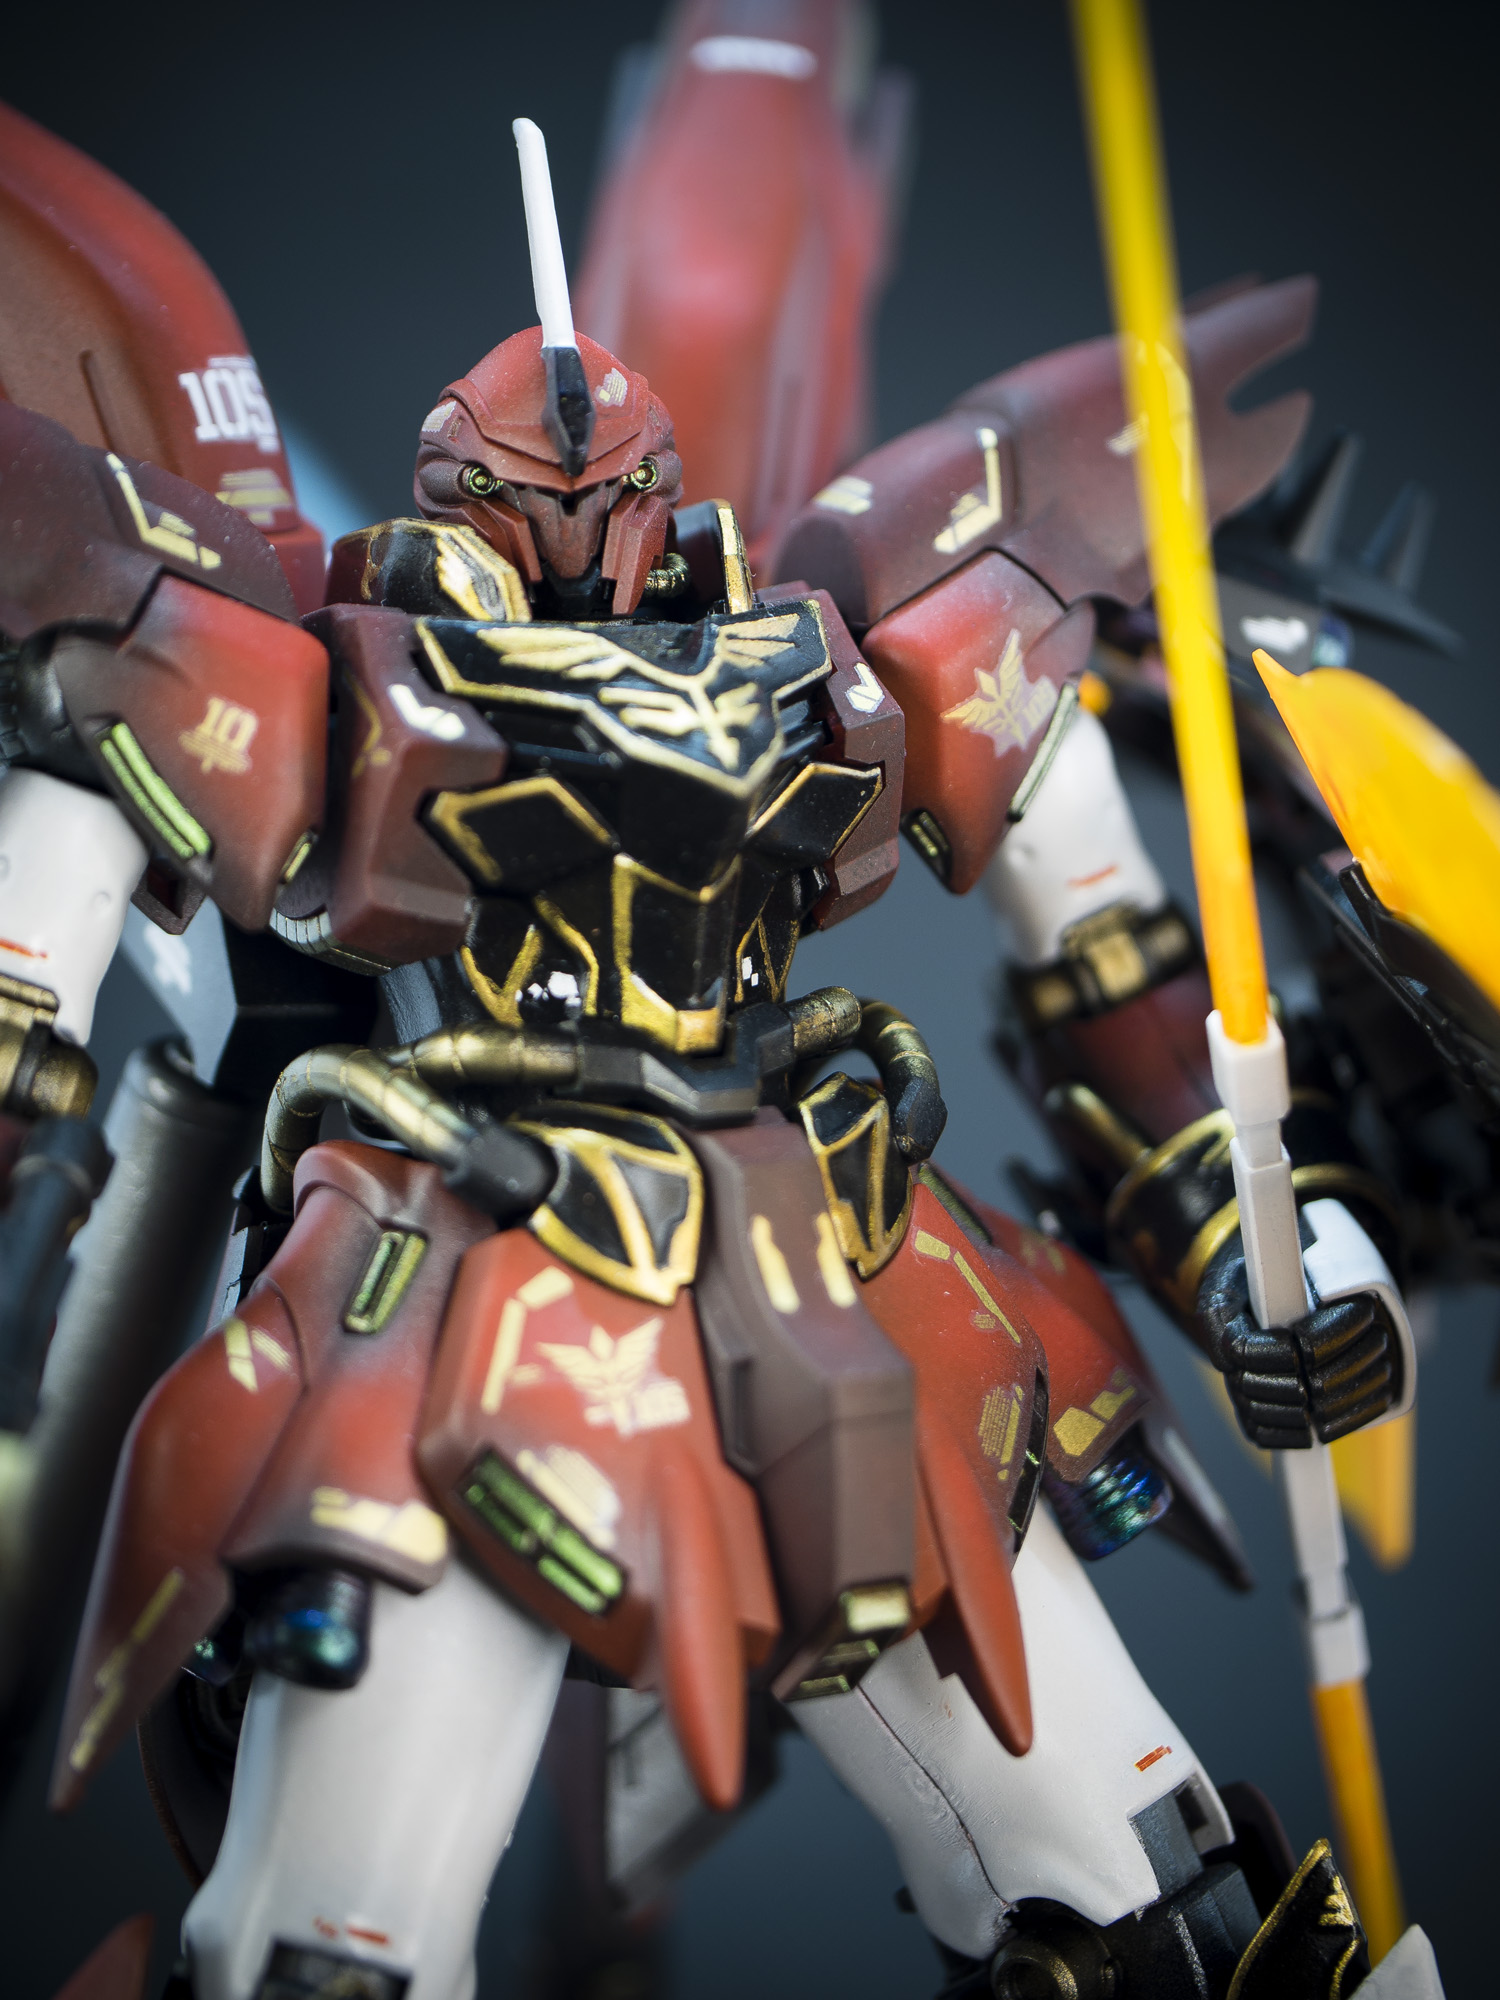
My mistake is that I kind of used too much thinner and hence I removed the gold paint as well, which means I have to start all over again. Sigh, and life took over and I have to put the kit away and restart the project in Dec 2021.
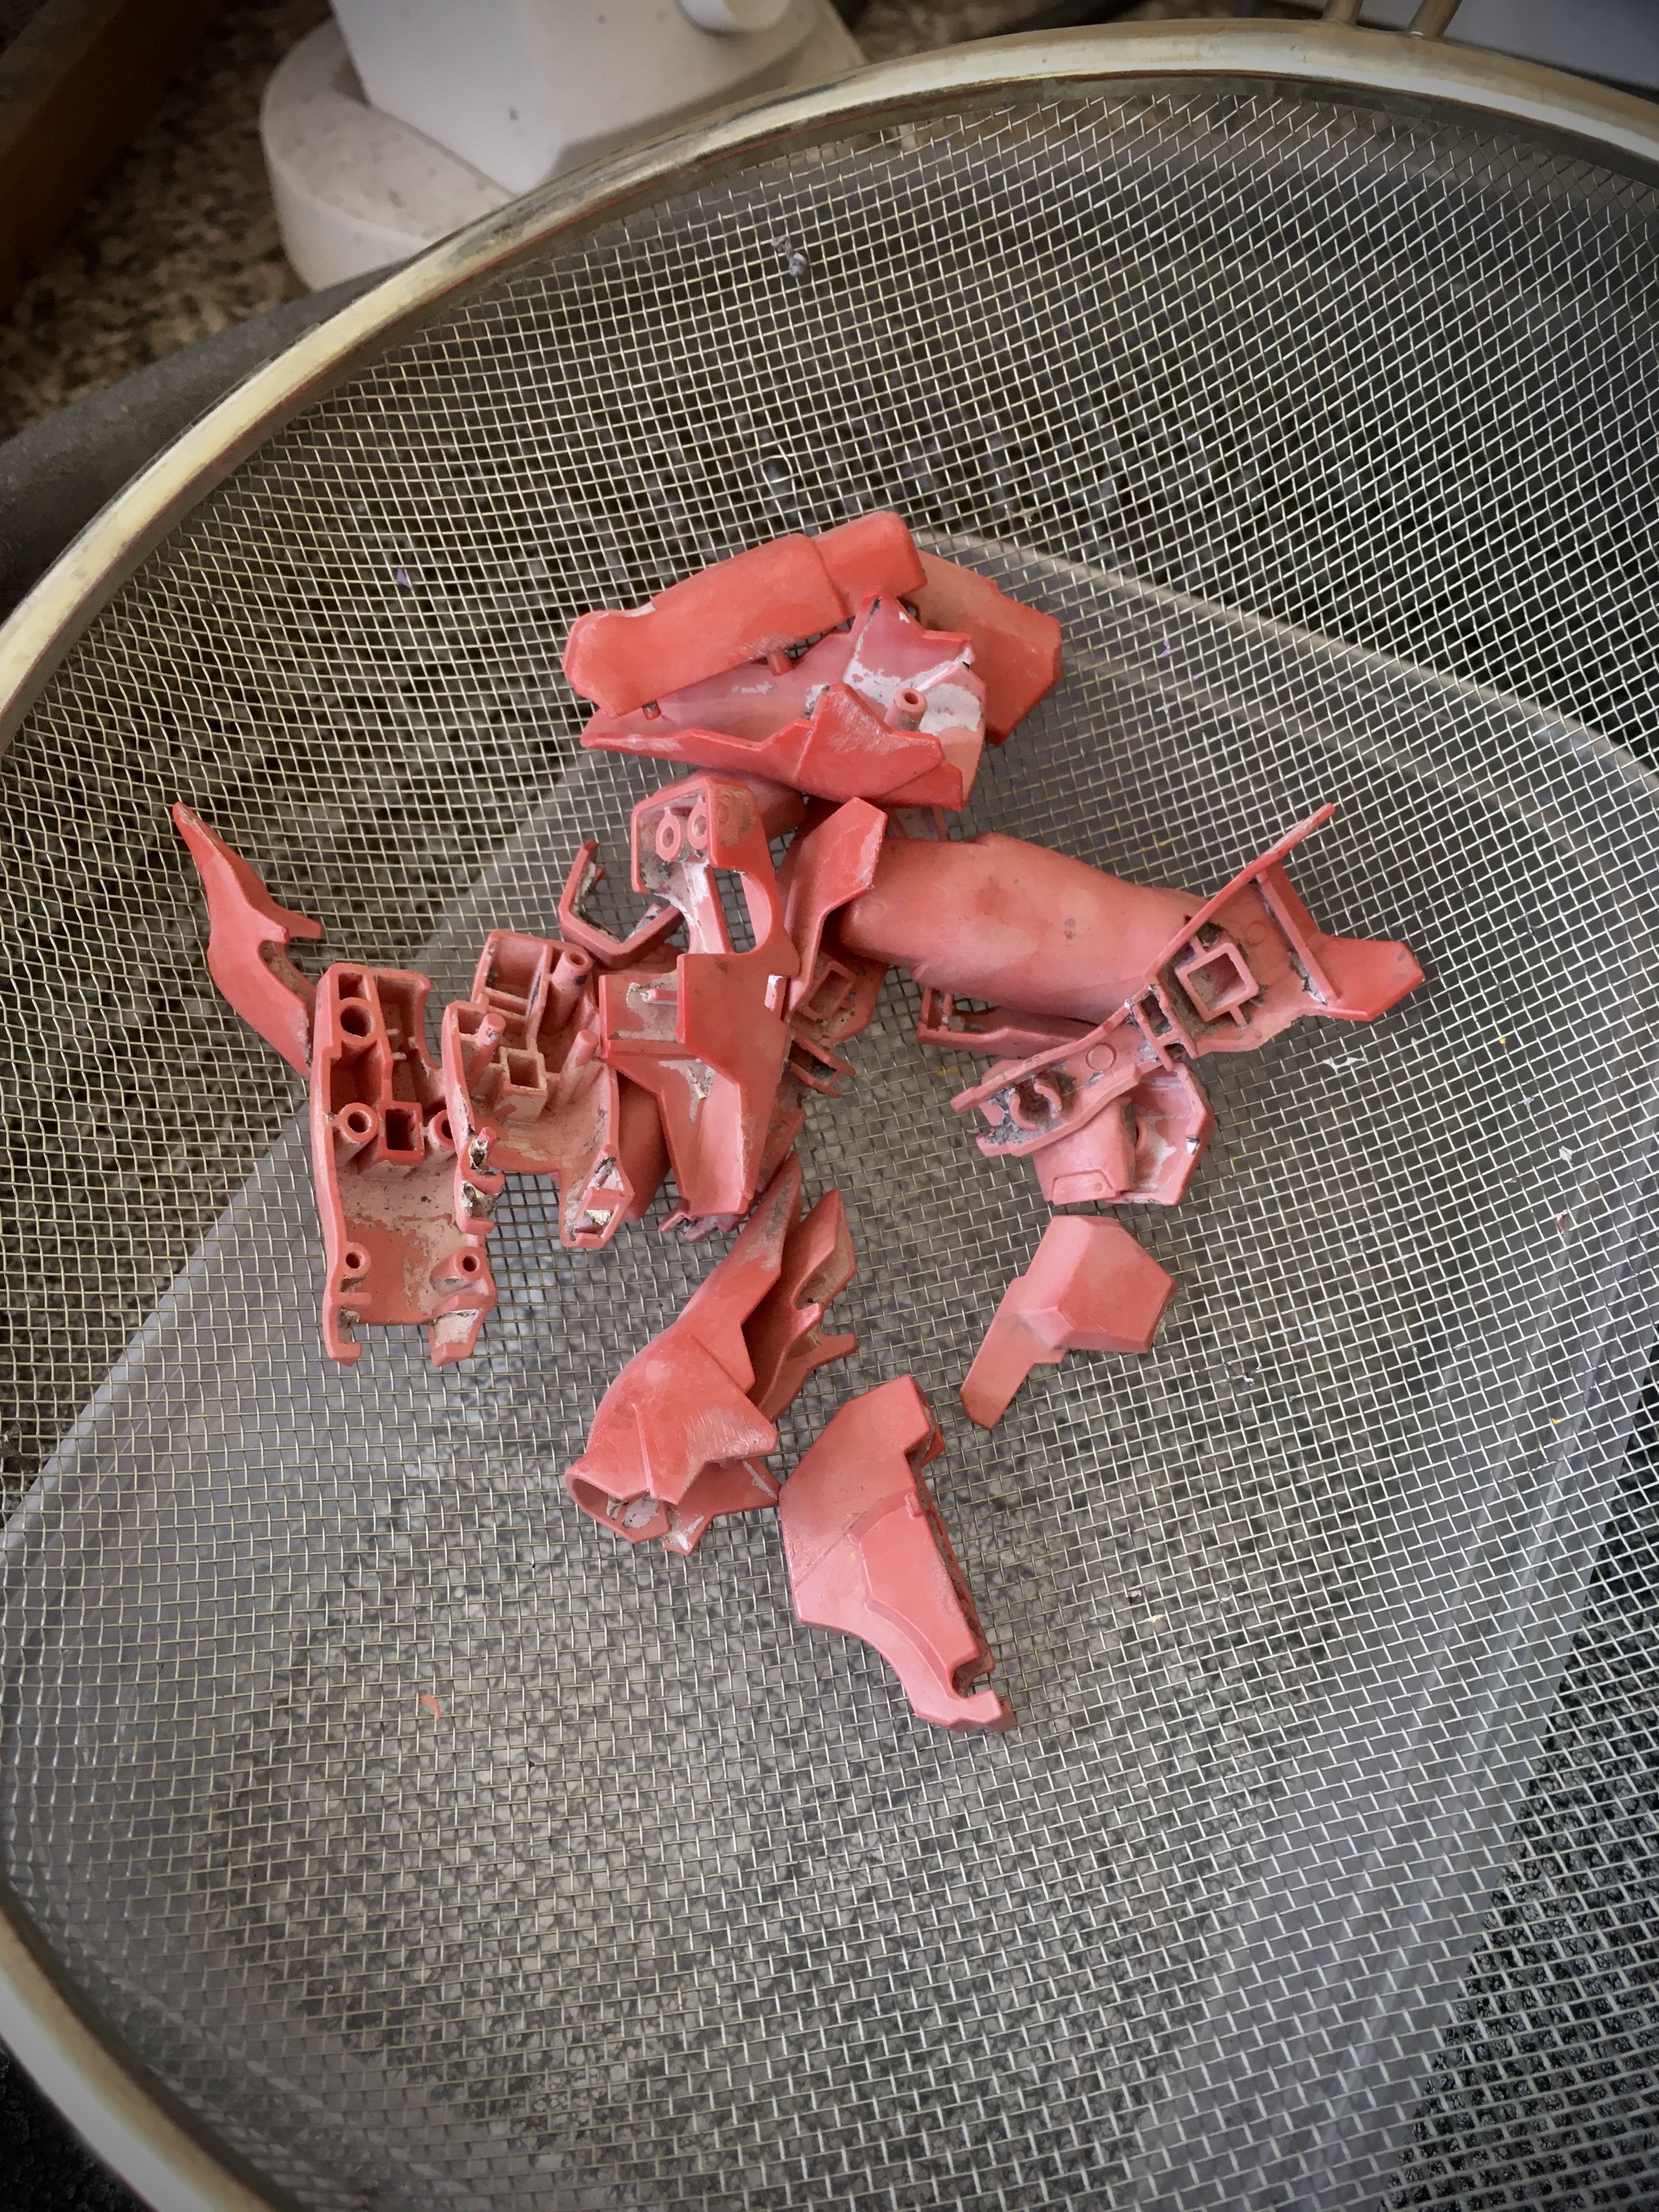
This time round, I spray a gloss top coat over the gold paint and to be sure I sprayed over a few times when it dried hence giving it additional layers of gloss coat to protect the gold; which kind of is a 2nd mistake I made.
The gloss coat added additional thickness to the kit and hence the separation between the raised details are less obvious, hence when I started removing the black paint which is easier due to the gloss coat, I kind of destroyed some of the finer details.

Hey-oh! You do learn something on very project.
